Grok Bot Developer Guide: Eligibility, Shared Environment, and Task Setup
A developer guide to Grok Bot based on October 2026 docs, covering plan eligibility, shared cloud computer mechanics, and a downloadable starter kit for task handoffs.
Suppose you have a broken median function, a short specification, and a failure log snippet, and you want to hand them to Grok Bot to get back a reproduction report you can actually verify. That concrete handoff is the most practical way to get started with the tool. This guide is based on official public documentation as of October 2026 and includes a downloadable synthetic starter kit (download bug-reproduction-starter.zip). The sample code itself has been verified locally on our machine, though not executed inside Grok Bot; you can use these credential-free files to walk through eligibility checks, shared-computer boundaries, and report verification.
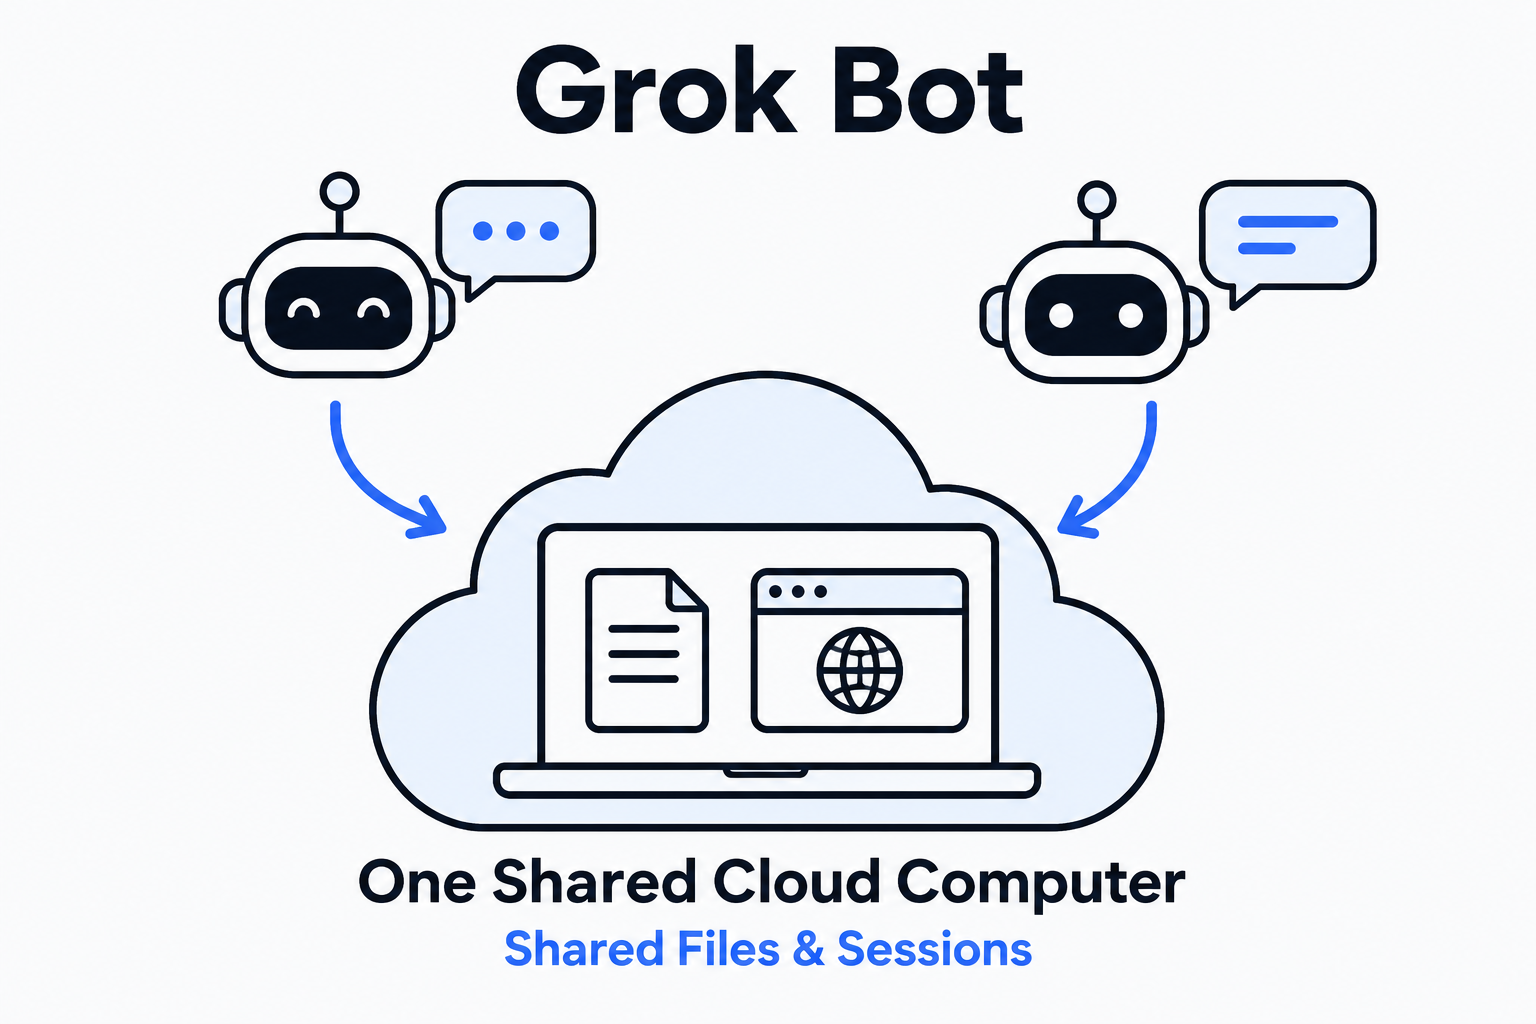 Figure: Multiple Grok Bots under the same account keep separate conversations and role contexts while sharing one persistent cloud computer for files and sign-ins.
Checking Plan Eligibility and Account Linking
Before setting up a task, confirm that your account is eligible to use Grok Bot. According to the official plans matrix and pricing documentation as of October 2026, access depends on your subscription track, legacy plan mapping, and account linking status—not simply on whether you pay for any tier on X.
| Subscription Track | Eligibility and Usage Rules |
|---|---|
| The X Subscription (New Track) | Individual or team seats on Premium ($30/mo plus tax), Super, and Ultra include Grok Bot; Plus and Free do not. Usage draws from a shared weekly pool across Cursor, Grok, and Bot, with prepaid credits available for extra usage. |
| Legacy Cursor Plans | Legacy Cursor Pro, Pro+, Ultra, and self-serve Teams remain eligible under existing legacy rules. |
| Individual Grok & X Linking | Individual SuperGrok, SuperGrok Plus, Heavy, or X Premium+ accounts can be linked to a Cursor account. If both a legacy Cursor plan and SuperGrok are linked, grants do not stack—the larger grant applies. |
Self-serve Grok Business seats and trial windows follow separate rules: Grok Business access requires an active self-serve Grok Business seat assigned to your account (check with official support for custom enterprise agreements), while the free trial provides usage credit within a 7-day window rather than unlimited free access. Because account linking may not be movable once completed, check the official plan matrix before linking and avoid blindly merging accounts.
If you are already paying for an eligible tier but still see an access error, run through these four checks in order:
- Confirm that you signed into the desktop or mobile app with the exact Cursor account that holds or receives your eligibility; if your access comes from a personal SuperGrok or X Premium+ subscription, also verify that it is linked to the correct paid Grok or X account.
- If your access comes from an individual SuperGrok or X Premium+ tier, confirm that you have completed account linking.
- Check your team seat status: team members on the new The X Subscription track need an active paid seat; every existing member on a legacy self-serve Cursor Teams plan already includes Bot access without needing to request Premium; Grok Business users must confirm they have an active self-serve Grok Business seat, while custom enterprise contracts should be checked with official support.
- Check your storage settings: every Grok Bot requires cloud data storage, meaning Legacy Privacy Mode is not supported across any plan. If all four checks pass and access still fails, follow the official support channels.
To distinguish Grok Bot from adjacent developer offerings: Grok Bot is a beta AI teammate with persistent memory that works across apps and in the background on a cloud computer. If you want an installed coding agent that runs via TUI, headless mode, or ACP inside your own environment, look at Grok Build. If you want to send model requests directly from your own backend using a Console account, prepaid credits, and an API key, follow the xAI API Quickstart. Self-built Telegram or Discord bridges require your own runtime environment and platform credentials and are separate from the official Bot app.
How the Shared Cloud Computer Works
Once access is ready, understand how the workspace handles your files. According to the Grok Bot Overview (updated October 7, 2026) and the FAQ, all Bots under the same account share one persistent cloud computer rather than running in separate virtual machines.
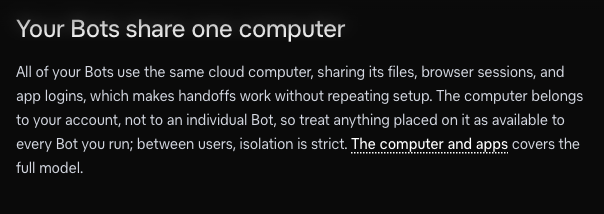 Figure: Official documentation noting that all Bots under an account share one cloud computer, file system, and logged-in browser sessions (Source: Grok Bot Overview).
That single cloud computer belongs to the user and includes a browser, a file system, and a terminal. Files on disk, browser sessions, and saved sign-ins are shared across every Bot on your account. At the same time, each Bot maintains its own separate role context, conversation history, and virtual screen. Multiple Bots can perform reasoning, file work, and connector calls in parallel, while each Bot runs one computer-use task at a time on its own screen.
Because of this architecture, the documentation explicitly states that you cannot use different Bots as a security boundary. Creating separate Bots is great for organizing different workflows and keeping role contexts focused, but any sensitive sign-in or file placed on the cloud computer remains accessible to the whole account. For this starter exercise, we use synthetic files only—no real tokens, customer logs, private repositories, or production systems.
App Setup and Creating the Bot
According to the Get Started guide (updated October 16, 2026), setting up and running Bots happens in the desktop app—available for macOS (Apple Silicon and Intel), Windows (x64 and Arm64), and Linux (x64 and Arm64)—or via mobile setup on iOS and Android. Viewing docs or shared Bot previews in a web browser does not provide a full web workbench, and mentioning @bot on X requires prior account linking, an existing Bot, and regional eligibility, with results still living inside the Bot app (see Tag on X).
Download the app from x.ai/bot, click Sign in, complete browser authentication with your Cursor account, and return to the app. Next, choose New -> Create new Bot and fill in the profile.
-
Name:
Bug Repro Analyst -
Primary job:
Reproduce numeric function bugs and write verifiable comparison reports -
Description:
Reads uploaded source code, specs, and log fixtures, runs minimal reproduction scripts in a temporary directory, separates executed output from static code inference, and prepares a Markdown report for human review.
When a workflow requires web sign-ins, CAPTCHAs, or two-factor authentication, the app lets you take over the screen to enter credentials (leaving the session on the shared computer). Our bug-reproduction task below works entirely from attached files and needs no browser sign-ins.
The Starter Kit and Locally Verified Defects
Per Files and Results, the desktop app accepts CSV, JSON, YAML, source code, and plain text files, up to 6 attachments per message. Inside bug-reproduction-starter.zip, you will find median.mjs, specification.md, synthetic-log.txt, and the bilingual task files task-zh.md and task-en.md. Attach median.mjs, specification.md, synthetic-log.txt, and one of the task files—4 attachments in total.
The file median.mjs exports a four-line implementation:
export function median(values) {
  const sorted = values.sort();
  return sorted[Math.floor(sorted.length / 2)];
}
Checked against specification.md (which restricts valid inputs to arrays of finite numbers without requiring a generalized production library), this function has four specific defects. We verified the fixture locally using Node v26.0.0. Note that median.mjs only exports the function, so running the file directly prints nothing; if you want to check it on your own machine (optional, and not required to use Grok Bot), import and invoke it with:
node --input-type=module -e 'import {median} from "./median.mjs";console.log(median([2,10,3]))'Our local fixture verification confirmed four behaviors:
- Lexicographical sorting on odd-length inputs: For
[2, 10, 3], the spec expects numeric sorting ([2, 3, 10]) and a return value of3. Becausevalues.sort()sorts strings lexicographically into[10, 2, 3], the function returns2. - Wrong even-length median: For
[1, 2, 10, 20], the spec expects the average of the two middle values (6). The code sorts the array into[1, 10, 2, 20]and returns the element at index 2 (Math.floor(4 / 2)), which outputs2. - Missing empty-array error: For
[], the spec requires throwing aRangeError, whereas the current code returnsundefined. - Mutating input array contents: The spec requires leaving the input array contents unchanged, but calling
median([2, 10, 3])mutates the original array in place into[10, 2, 3].
Keep in mind that synthetic-log.txt is an author-constructed fixture with no customer or production data. When reviewing the Bot’s work, distinguish between these pre-written expectations and the actual execution record produced by the Bot.
Dispatching the Task Prompt
The onboarding guide recommends stating the expected outcome, sources, constraints, deliverable, and review point when assigning an initial task. While the full task specification is included in the download archive as task-en.md, you can paste this condensed 7-line version directly into the chat input (this is a streamlined prompt rather than a verbatim copy of the attached file):
Review the attached read-only files median.mjs, specification.md, and synthetic-log.txt to reproduce the median function bugs.

1. Workspace: Do not edit the original attachments. If Node.js is available, run a minimal reproduction script in a temporary directory and record the Node version, exact commands, and stdout/stderr.
2. Evidence: If execution fails or Node is unavailable, report the exact reason and never fabricate output. Explicitly label each finding as executed evidence or static code inference.
3. Comparison Table: Write reproduction-report.md with a case-by-case table (Case, Input, Expected, Actual, Evidence) covering [2,10,3], [1,2,10,20], [], and input array content mutation.
4. Code Basis: Provide code references or hypotheses to verify for lexicographical sorting, even-length median logic, empty-array handling, and in-place mutation.
5. Boundaries: Do not modify files outside the temporary directory, contact anyone, access external accounts, or run commit/push/PR/deploy commands.
6. Handoff: You may include a proposed code fix in the report, but stop and hand back for human review as soon as reproduction-report.md is written.
Treat prompt constraints as task boundaries rather than hard technical guarantees; once the Bot pauses and hands the report back to you, always inspect the actual command history and workspace state.
Reviewing the Report and Saving Workflows
When reproduction-report.md is ready, check that it contains raw, verifiable evidence rather than just a polished summary (for more on verifying final states in agent workflows, see our post on personal-agent evaluation boundaries).
Check three specifics in the report: verify that it includes the exact import command, assertion inputs, and the observed outputs (2 for both numeric arrays and undefined for []); confirm it tests whether the original array contents changed after calling median; and reply with an unseen finite-number test case such as [-5, -1, -10] to see if the Bot applies the same verification steps consistently.
Even when a single run passes every check, a one-off test does not prove that constraints will hold across every future scenario. According to Skills, Routines, and Automations, a Skill captures a reusable method for how to do a task, while a Routine schedules when a single Bot runs automatically. Verify your workflow thoroughly as a one-time task first, and only save it as a Skill or schedule a Routine once you have reviewed its execution logs and output quality.